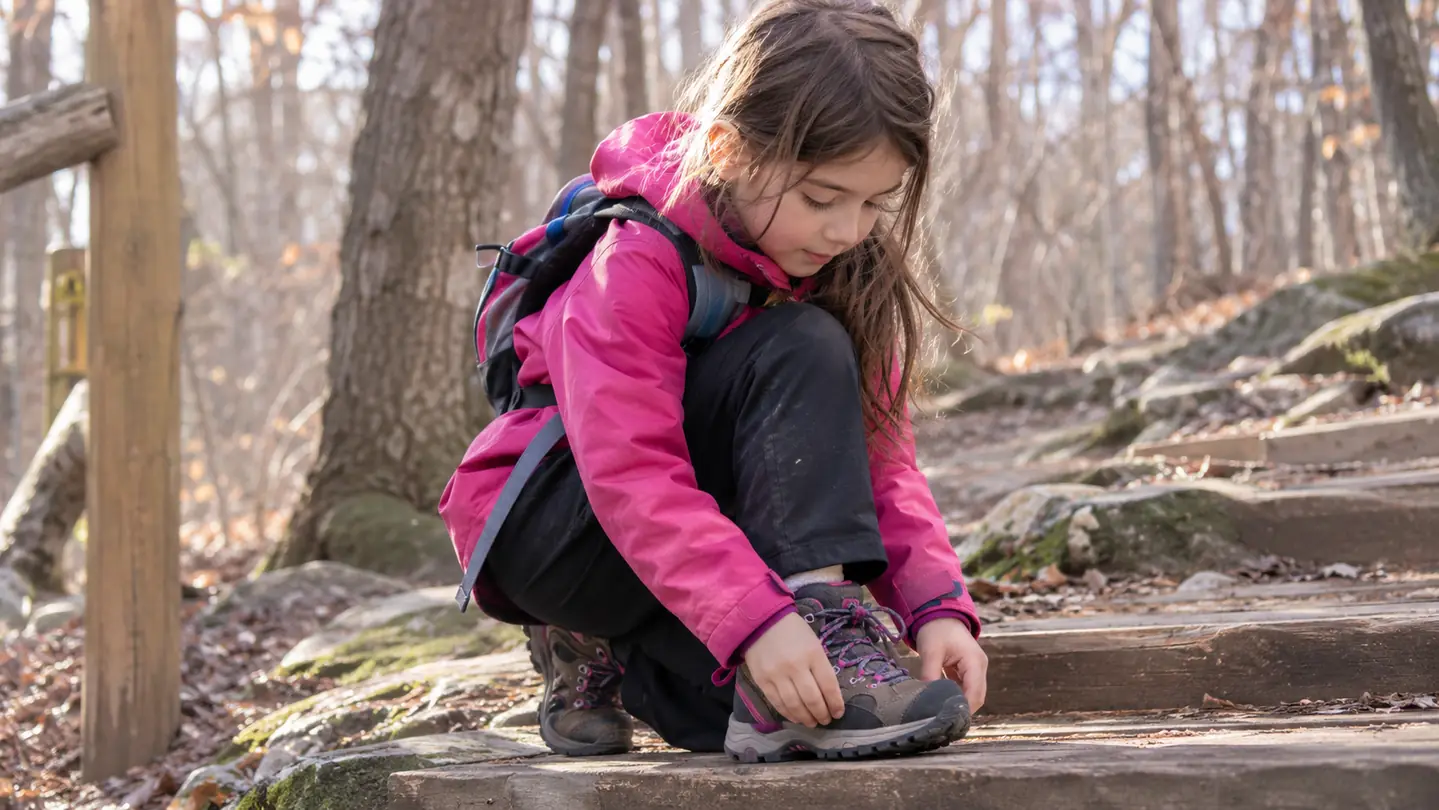
The first time I took my granddaughter Hattie to Mammoth Cave in winter, I put her in sneakers. She was eight, it was February, and I had a tote bag with a leaky plastic bottle in it and a thin poncho folded on top. About a mile in she stopped and told me her sock was wet. Then she said her heel hurt. Then she asked me for water for the fourth time. The poncho tore on a branch on the way back, we turned around early, and I drove home with a child in wet socks and a blister on her left heel.
That night I sat at the kitchen table and ordered five things in one order: a small hydration pack, a pair of Merrell boots, a pair of binoculars, an insulated bottle, and a rain jacket. They arrived that week. Our first walk with all of it was the first Saturday of March, and we have done about thirty Saturdays since, through spring, a hot summer, and into fall. What follows is what I know now about fitting a child's hiking boot. Most of it I learned by getting it wrong in February, and the rest I learned by watching one pair of Merrell Chameleon boots work on wet limestone for eight months.
The boot she can close herself is the boot she will actually wear
The kids' Merrell Chameleon 7 Mid A/C is waterproof, ankle high, and closes with a hook-and-loop strap and a bungee lace. It is the pair Hattie has worn on every Mammoth Cave walk since March, and the pair she puts on without help.
Amazon Check Today's Price on Amazon →Step 1: Measure at the end of the day, in the socks she will actually wear
Feet swell over the course of a day. That is true of a sixty-one year old and it is true of an eight year old who has been running around a school playground since morning. So measure in the late afternoon or early evening, and measure in the sock the child will wear on the trail, not the thin sock she has on at breakfast. Hattie wears exactly one pair of wool blend socks on our walks. Never two pairs, never cotton. Cotton holds water against the skin, which is what happened to her in February, and no boot on earth fixes a wet cotton sock.
Have the child stand on a sheet of paper with her weight on both feet and trace around each foot with the pencil held straight up and down, not angled in. Measure heel to the tip of the longest toe, and do both feet, because most children have one foot a little longer than the other and you fit the longer one. Write the number and the date at the top of the paper and keep it. Children's feet do not grow steadily. They sit still for months and then move overnight.
What you should not do is walk into a store, look at the size printed inside the sneakers she wears to school, and ask for that number. Sneaker sizing, brand to brand, is not the same conversation as boot sizing, and a school shoe is built for a flat hallway floor, not for roots and wet rock. Start from the measurement on the paper, then let the boot itself tell you the rest.
Step 2: Leave a thumb's width at the toe, and check it standing up
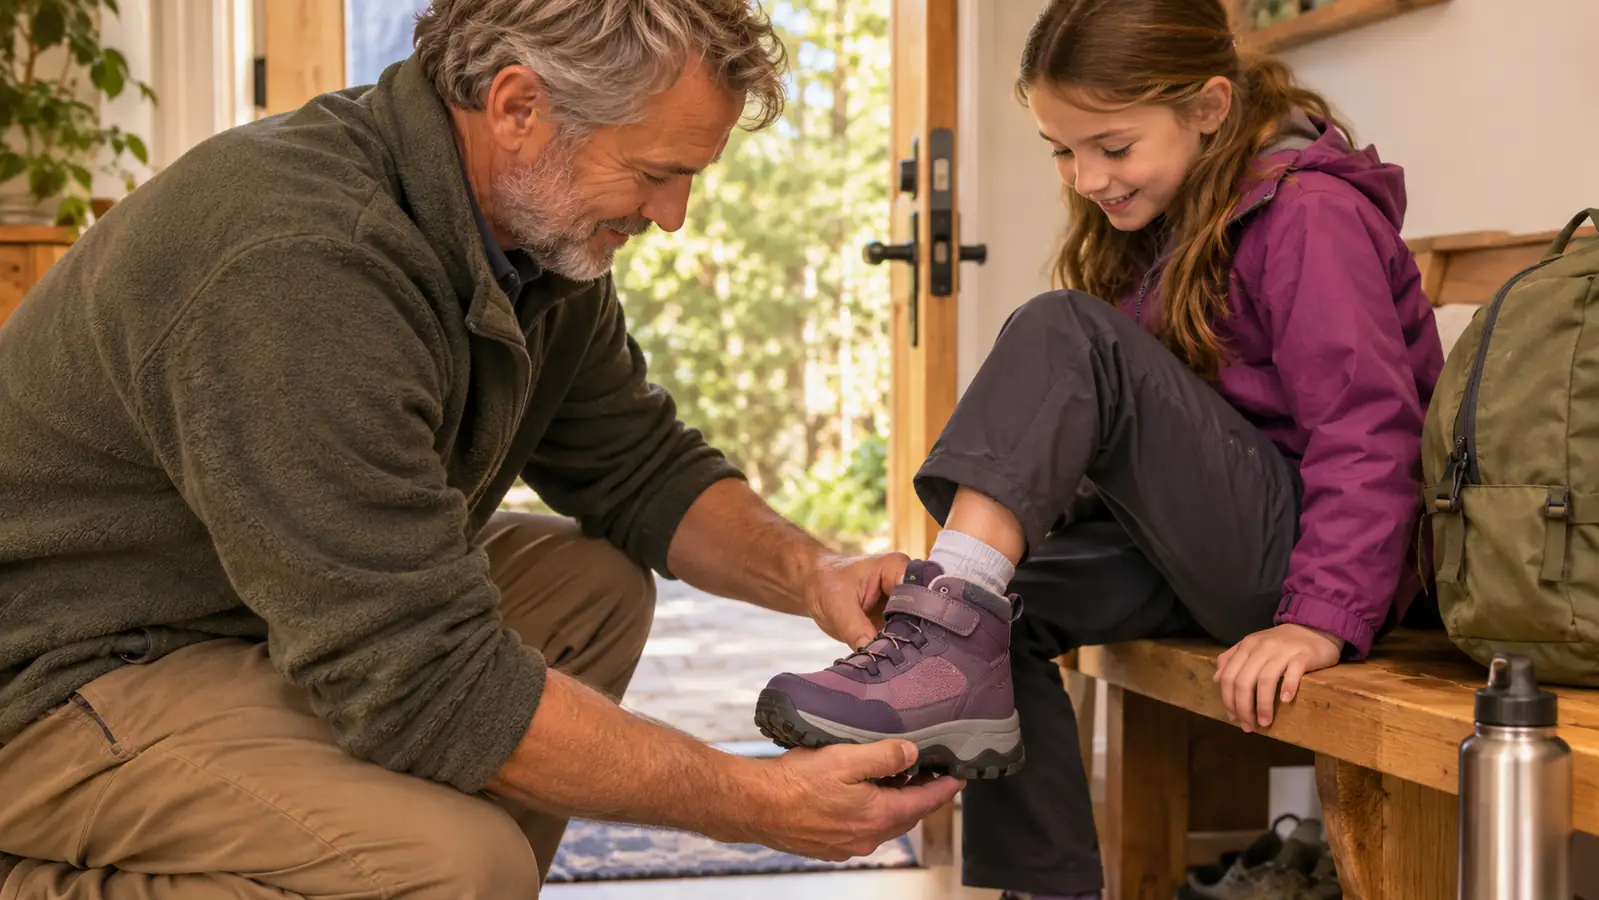
A thumb's width. That is the whole rule, and it is the one I would write on the wall of every shoe store in the country. I bought Hattie a size 2 with about a thumb's width of room in front of her longest toe, and I have watched that space shrink to about half a thumb over eight months. She will need the next size by spring. That is not a defect in the boot. That is the point of the thumb's width. It is a runway, not a cushion, and when it is gone you buy again.
Check the space with the child standing, not sitting. When a child sits, her weight comes off the foot and the foot slides back, so a seated check will tell you there is more room than there is. Have her stand up, press your thumb down across the top of the toe box just in front of the longest toe, and feel for the end of the foot. If you can feel the toe right against your thumb, there is nothing left and the boot is already too small, no matter what the tag says.
The Merrell Chameleon is a mid-height boot with a round toe, and that shape gives you a clean place to do the thumb press. On a very tapered or pointed toe you are guessing. Here you are not. Do the check on both feet, standing, in the socks she will wear, and do it again in two months, because the runway disappears quietly.
The blister on her left heel has never come back. Not once in about thirty Saturdays, and the only thing that changed was the boot.
Step 3: Check the heel and the ankle, not just the length
A boot can be exactly the right length and still be the wrong boot. The heel is where I lost the February walk. Hattie's heel slid up and down in that sneaker for a mile and rubbed itself raw. So after the length check, have the child stand and press your thumb down behind her heel. It should feel seated, settled into the back of the boot, not floating with a gap you could slide a finger into. Then have her walk away from you and back, and watch the heel. If it lifts with each step, the boot is loose in a way no sock will fix.
The ankle matters too, and it is where parents and grandparents tend to go wrong in the other direction. Too much collar and the boot saws at the ankle bone. Too little and there is nothing holding the foot down onto the sole. The Chameleon sits ankle high, with a shaft circumference of about four inches, and on Hattie that lands cleanly below the ankle bone with room to flex. It also has a waterproof upper, leather on the outside and a rubber sole underneath, which is the reason her socks have stayed dry on mornings when the limestone was still sweating.
One more thing to feel for while you are down there: flex the boot in your hands, front to back, before you put it on her. You want it to bend where her foot bends, at the ball, and not fold in the middle like a paperback. A boot that folds in the middle will let her foot roll inward on uneven ground, and she will feel every root through it.
Step 4: Let her close the boot herself before you leave the driveway
This is the step almost nobody writes about, and it is the reason I chose this boot in the first place. The Chameleon closes with a hook-and-loop strap and a bungee lace instead of a knot. Hattie could work that strap herself on the first day, in March, in the driveway, with cold fingers. She has done it herself every Saturday since. I have never once tied this child's boots for her on a trail, and I am not sure I could do it well with gloves on anyway.
A closure a child cannot manage is a fit problem, even though it does not look like one. Either the adult closes it and the child stands there with her hands in her pockets, or the child closes it badly and walks three miles with the boot loose and her heel lifting. I have watched both happen. Before you commit to a boot, have the child put it on and take it off three times in a row while you stand there with your hands behind your back. If she can do it on the third try without a struggle, it is the right closure for her.
Then set the strap tension once and leave it. On our first Saturday I had it too tight, and Hattie told me so about half a mile in, in the direct way that eight year olds have. Loosened a notch, it has not moved since. If a child tells you the boot is squeezing the top of her foot, believe her the first time. She has no reason to invent it.
Step 5: Break them in on pavement, then test them wet before you trust them
New boots go on two short walks around the neighborhood before they go on a trail. Not a hike. Around the block, twice, on two different days, with a look at the heels afterward. That is what we did in early March, and there was no blister. I am not going to tell you a boot never causes a blister. I will tell you that if a boot is going to rub, I would rather find out two blocks from my own kitchen than two miles from the trailhead.
Then test the grip, deliberately, before you trust it. Pick a short loop with one slope and one stretch of wet ground and let the child walk it. The rubber sole on the Chameleon holds on wet limestone and on roots, and that matters more in Kentucky than any tread pattern on a spec sheet, because our trails are wet more often than they are dry. Hattie went down a damp slope in April without a hand from me and did not so much as wobble.
And now the honest part, because a boot that only gets praised is a boot nobody tested. These are heavier than sneakers, and Hattie noticed on the first walk. Clay mud packs into the tread and has to be brushed out, which is my job and not hers. And in May she went into a creek that came over the top of the boot, and it took overnight on newspaper by the back door to dry. Waterproof means rain stays out. It does not mean the boot is a wading boot, and you should say so out loud to the child before she finds out the hard way.
What Else Helps
Socks first, always. One pair of wool blend socks, changed the moment they get wet, with a dry pair in the pack. I keep a spare pair in a plastic bag in the Forester and I have used it twice. Cotton socks in a wet boot are the beginning of a bad morning, and no amount of boot quality rescues them.
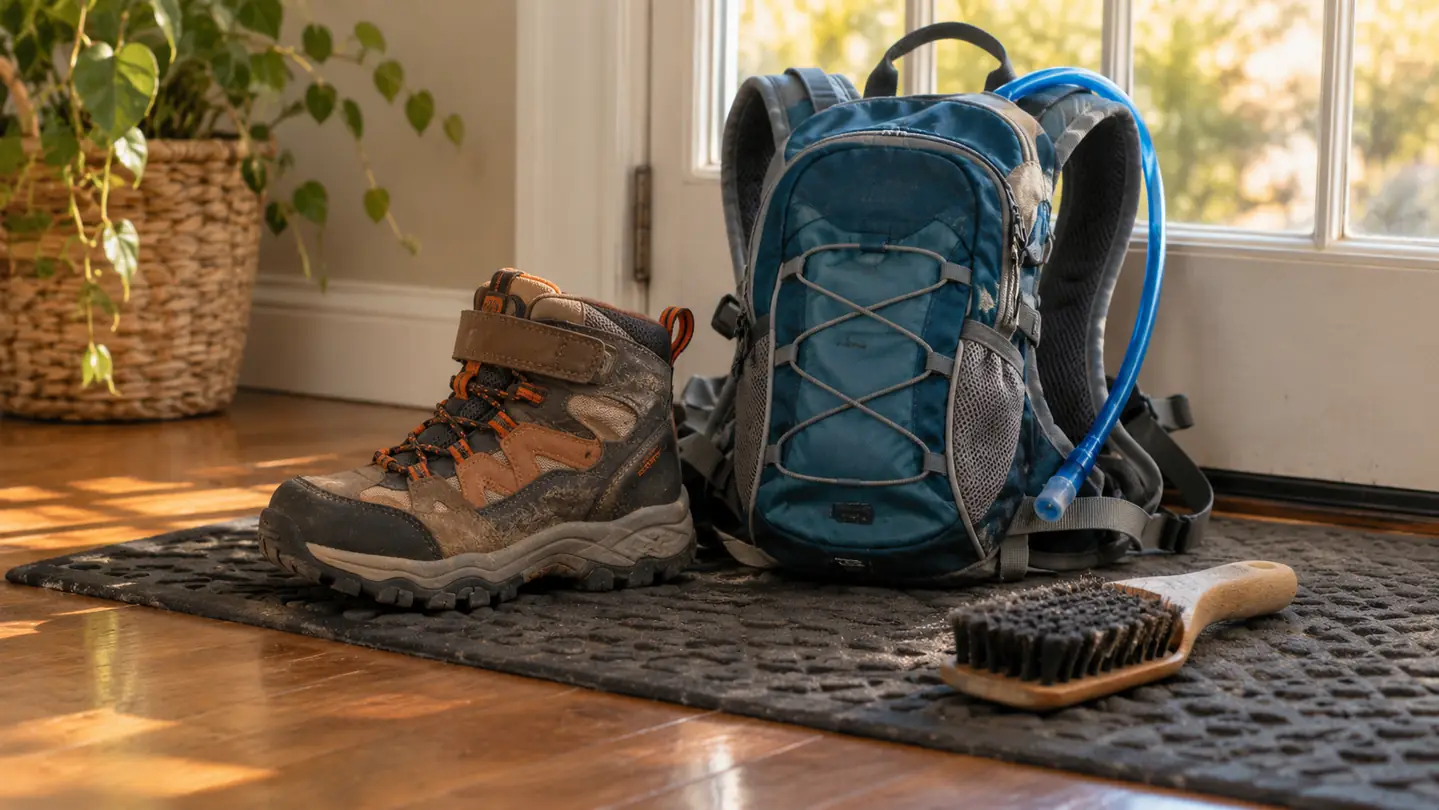
Give the boots one place to live. Ours sit on a mat by my back door, under the pack, and Hattie has never worn them to school. That is on purpose. A hiking boot used as a school shoe wears out its tread on pavement and loses the break-in you just gave it. Brush the mud off when you come in, not the next morning, because Kentucky clay dries like concrete. And recheck the fit every couple of months with the thumb press, since the runway at the toe goes quietly.
The last thing is not gear at all. I taught school for thirty-one years, and the children who kept walking were the ones who had something to do besides walk. Hattie has her notebook and her own water within reach, and she stops to write down a bird, and the miles take care of themselves. If a child's gait worries you, or a foot looks or acts wrong, ask her pediatrician rather than a retired teacher with a thumb and a pencil. I have written separately about how these boots held up over the long haul and about how they compare with the Keen Targhee for kids, if you want the longer version of this.
Fit the boot in the driveway. Then spend your Saturdays on the trail.
Waterproof, ankle high, and closed with a strap an eight year old can work alone. Size it with a thumb's width at the toe, check the heel standing up, and let her do the strap herself before you leave.
Amazon Check Today's Price on Amazon →